The Arizona Taco Festival
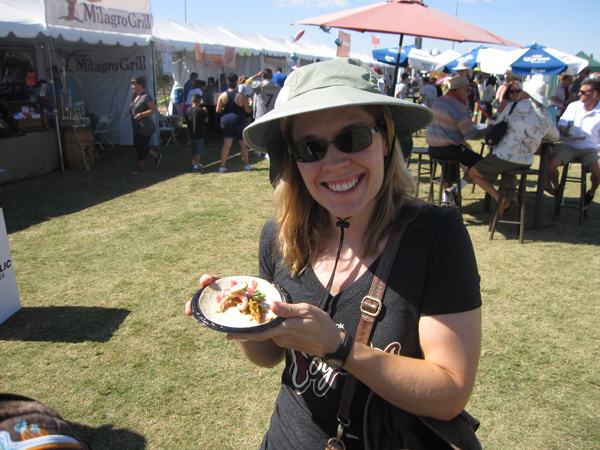
Being a writer means a lot of rejection and waiting, but it also carries certain perks. That said, I never expected free gourmet tacos and margaritas to be part of the deal, but by golly, I’ll take it.
I was ambassador to the Arizona Taco Festival last weekend. I have a full write-up of the amazing experience over at the Holy Taco Church.
Read MoreSunday Quote needs to work on her Christmas shopping
Read More“Be daring, take on anything. Don’t labor over little cameo works in which every word is to be perfect. Technique holds a reader from sentence to sentence, but only content will stay in his mind.” ~Joyce Carol Oates
Earthquake Day
I will always think of October 17th as earthquake day.
1989. I was nine, at home in Hanford. I was watching the 5 o’clock news on KSEE 24 out of Fresno with my mom and brother. We felt the earth move. We all looked at the hanging lamps; their sway confirmed that an earthquake had indeed occurred. When the news resumed after commercials, Bob Long and the other broadcaster mentioned they had felt something, too. The breaking news quickly shifted to San Francisco.
Today the news is all on Ebola and war and lots of other scary things. A new year, a new fear.
Moving on to more pleasant things…
J. Kathleen Cheney did a great interview with Jeremy Brett on the Science Fiction and Fantasy Archive at Texas A&M. This is of particular interest to me because I now have two earlier editorial drafts of The Clockwork Dagger at the Texas A&M archive. You can actually go into the Cushing Library and view my materials. As a library geek, this pleases me to no end.
My story “Hatchlings” can be read at Daily Science Fiction. It’s about the cruelty of children and the benefits of pet monsters. This one was inspired by Pokemon.
I also have two old favorites newly published as podcasts:
“Red Dust and Dancing Horses” at Escape Pod
“Reading Time” at Cast of Wonders, a podcast for teens
Also, I have a guest blog and excerpt from The Clockwork Dagger up at Coffee Time Romance.
Read MoreBready or Not: Maple Energy Bars and Bites
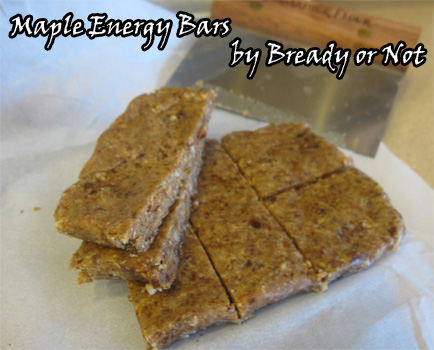
Confession: I’m classifying this as a fall recipe because of the maple, but I make these all year long.
I know, I know. If you’ve been following me for any length of time, you know how I love maple. I like to make my own breakfast food, too.
Larabars are found in the energy bar section of retailers. They are delicious but are also awfully expensive–if you’re lucky, you might get a bar for a buck on sale. Me? I’m cheap. I make my own versions. I have a chocolate chip cookie dough recipe that I really need to share at some point, but today is about the maple variety that I created on my own.
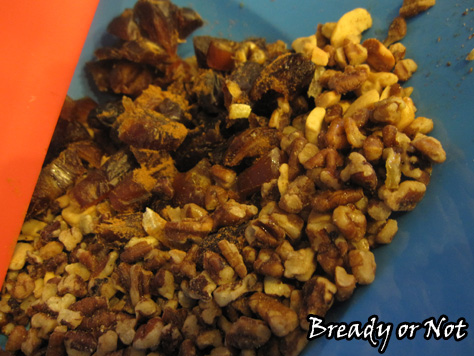
To make any homemade Larabar facsimile, you really need two base ingredients: dates and nuts. You switch out the nuts to your taste or based on sales, then change out seasonings to make things fresh and tasty. With the maple flavor, I like using a combo of cashews and pecans, but I’ve also done all cashews. Feel free to do almonds, peanuts, or whatever else you have handy, or combine them all!
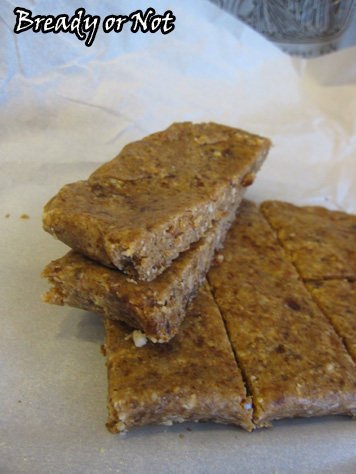
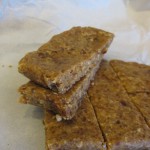
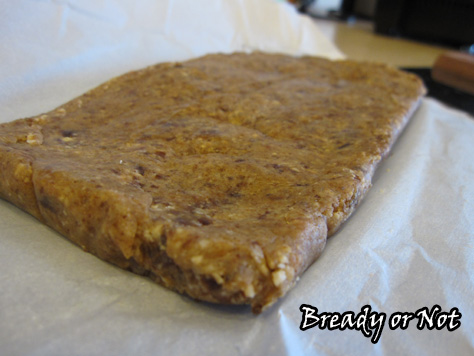
I usually make these into a ball shape using my tablespoon scoop, but this time around I made bars. They are a bit more photogenic, I think. And man, do they taste good.
Bready or Not: Maple Energy Bars and Bites
Ingredients
- 1 cup medjool dates chopped
- 1/2 cup cashews
- 1/2 cup pecans or combine other nuts to equal 1 cup
- 1-2 teaspoons candied ginger diced (optional, but tasty)
- sprinkle cinnamon
- 1/2-3/4 teaspoon maple flavor
- water if needed
Instructions
- In a bowl, combine all of the ingredients but the water. Pour 1/3 or 1/2 the mix into a high-powered food processor or blender. Pulse. Stir it with a spoon or spatula--it will be thick and gum up the machine. Pour the blended mix out, then add in more of the nut-date blend until everything is mostly blended. It's okay to have some chunks.
- Squeeze the mash between your fingers. If it doesn't want to stick together, dribble in water by 1/2 teaspoon until it's cohesive.
- You can shape them in two ways. Use a tablespoon scoop to form a ball, then compress them with your hands to tighten. Or, make bars. Place a sling of parchment paper in a bread pan. Pour the mash in. Compress as tightly as you can. Remove using the sling and cut to preferred size.
- Keep stored in covered dish or closed baggie in fridge. Makes about 9 tablespoon-sized balls or 7 bars. Will keep for upward of 2 weeks.
OM NOM NOM!
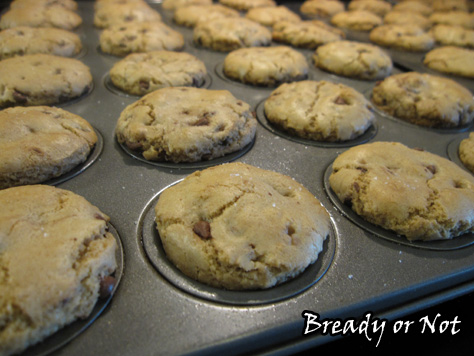
Bonus Bready or Not: Candy-Stuffed Cookie Cups
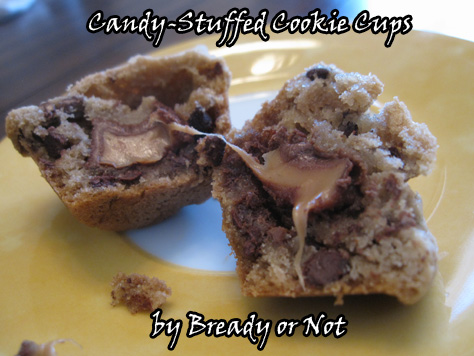
I could accurately name these Salted Browned Butter Candy-Stuffed Chocolate Chip Cookie Cups but that’s a royal pain to even type out, much less say.
These are what I made for my book release at Changing Hands. My book has almost been out a month (!!!) so I figure it was about time I shared this recipe, as promised.
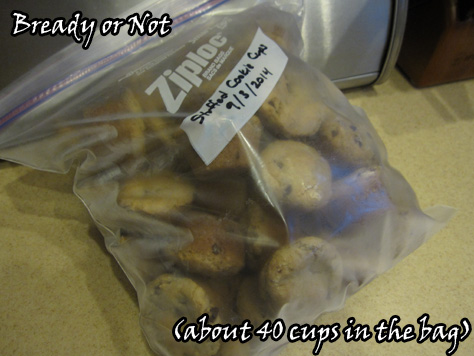
I wanted something cookie-like but more durable so that I could make it a few weeks ahead and freeze in a gallon freezer bag.
I thought, hey! Mini muffin pan cookies would be great! I already had a few such recipes pinned, so I combined them to create something new.
It was important to me that the candy be inside the cup. Since my event was in September in Arizona, I already knew I’d need to transport food in a cooler. Even so, I didn’t want lots of chocolate on the surface where it could melt.
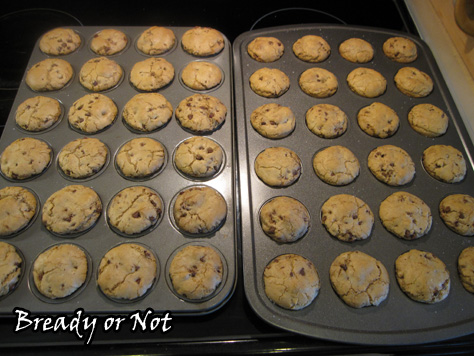
In my first attempt at this recipe, I used the tablespoon amount called for in one of the base recipes. They baked into these overflowing mushroom shapes. Taste-wise, the combo worked, but they were HUGE.
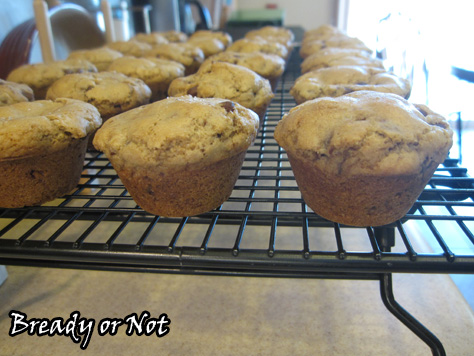
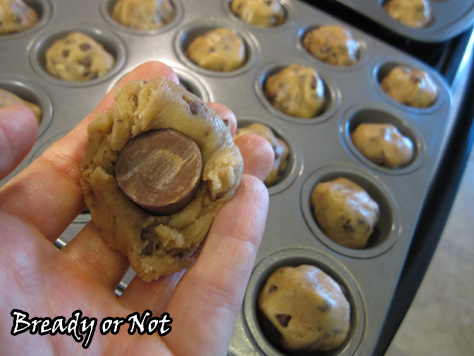
Therefore, I knew on my next attempt that I wanted to use about a teaspoon of dough for each cup. That’s enough for it to gently round, not overflow.
I also added corn starch to the recipe, which is what I use in my Soft Batch-like recipe. I prefer cookies chewy rather than crispy, and these would get crispy fast.
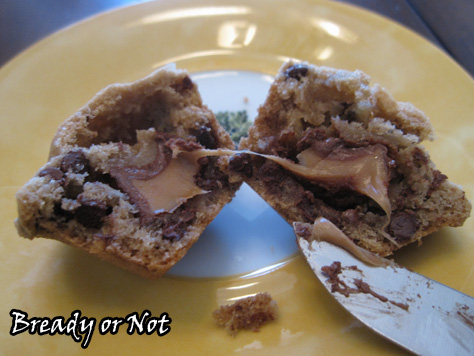
Stuff these cups with whatever you want. I used Rolos and mini Milky Ways. Any bite size chocolate candy would work, or caramels or Snak Sak Oreos. Go crazy. Go delicious.
My recipe is a combination of Rolo Chocolate Chip Cookie Cups at Crazy for Crust and Salted Caramel Browned Butter Cookie Cups at Buns in my Oven.
Bonus Bready or Not: Candy-Stuffed Cookie Cups
Ingredients
- 1 cup unsalted butter browned on stove
- 3/4 cup white sugar
- 1 cup light brown sugar packed
- 2 large eggs
- 1 Tablespoon pure vanilla extract
- 1 teaspoon baking soda
- 3 1/4 cups all-purpose flour
- 1/4 teaspoon salt
- 4 teaspoons corn starch
- 1 1/2 cups mini chocolate chips
- about 50-60 candies or mini cookies Rolos, Kisses, Reese's Peanut Butter Cups, mini Oreos, etc
- sea salt to sprinkle on top
Instructions
- Melt butter in saucepan at medium heat. Whisk until it turns deep golden brown, about 5 minutes. Let it cool a few minutes.
- Prep the mini muffin pan(s) by generously buttering or using a non-stick spray like Pam. If desired, use mini baking cup liners and spray them.
- Preheat oven to 350-degrees. In a medium bowl, combine flour, baking soda, salt, and corn starch.
- In a large bowl, pour in the white and brown sugar. Add the still-mildly-warm browned butter and mix. Add eggs one at a time followed by vanilla extract. Add the dry ingredients until just combined. Stir in mini chocolate chips.
- Have your candy unwrapped or ready at hand. Use a teaspoon scoop to dole out dough. Press a candy inside the dough ball and cover completely. Place in mini muffin pan hole. Once the pan is full, sprinkle sea salt on top.
- Bake cookie cups for about 11 minutes. Tops should be golden brown and gently rounded. Let cool in pan for an extended time before removing (especially if they overflow with a mushroom-like effect).
- Cookies will keep in the freezer for weeks, or for several days in a covered container at room temperature. Makes about 50-60
OM NOM NOM.
Read More


