Bready or Not: Maple Truffles
Every time I make truffles, I always end up raving to my husband, “I HATE MAKING TRUFFLES.”
The chocolate is always so slow to melt. I usually end up burning myself in some small way. My truffles never look as pretty as other truffles I see online (yes, I’m judging myself by my truffle beauty, dangit).
However, I always end up making truffles again because my husband’s co-workers go absolutely bonkers for them. They are referred to as “Mrs. Cato’s Balls.” Yeah. Go ahead and snicker.
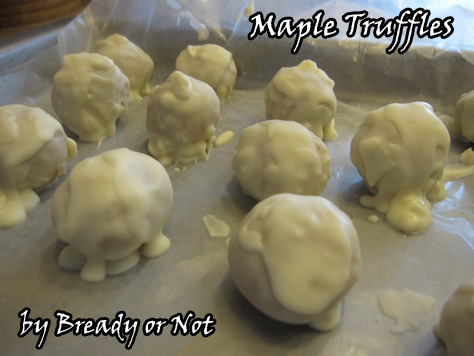
The standard home truffle uses Oreos. This is my unique version, done using maple creme cookies. You could also substitute Golden Oreos and add more maple flavor.
Everything is better with maple.
Bready or Not: Maple Truffles
Ingredients
A Bready or Not Original Recipe
- 8 ounces cream cheese 1 block
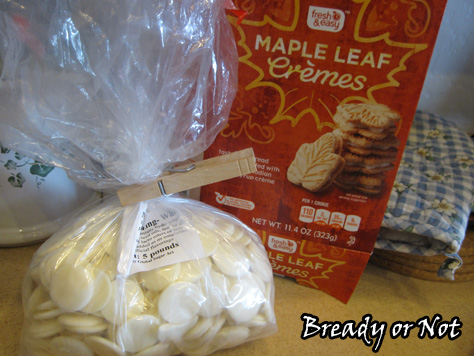
- 1 package of maple creme cookies or substitute Golden Oreos, and add more maple flavor
- 3/4 teaspoon maple flavor
- 11 ounces white chocolate or white candy melts
Instructions
- Bring cream cheese to room temperature, or place unwrapped block in a bowl and zap in microwave until softened, about 20 seconds.
- Pulverize the cookies. Use a blender to rend them to crumbs, or put cookies in a gallon zipper bag and crush them with a rolling pin.
- In a large bowl, combine soft cream cheese and crumbs. Begin to mix together, add maple flavor, then mix until completely combined and fully beige. Arrange a shelf in your freezer that will fit a mid-size cookie sheet; line the cookie sheet with wax paper. Use a tablespoon or teaspoon scoop or a spoon to form truffles, then use hands to compress the balls more. Set them all on the wax paper, then place in freezer for at least 30 minutes.
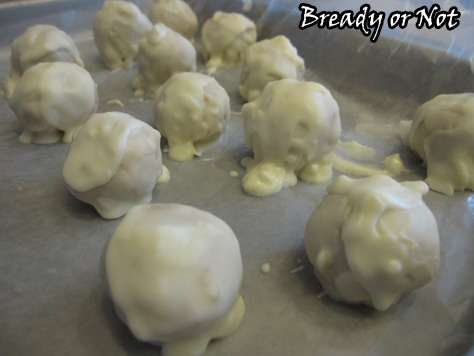
- Choose your method of melting the chocolate: the microwave or a double boiler. The latter has the advantage of keeping the chocolate warm. Carefully dip the cookie balls into the chocolate to completely cover. Let set. Often it's best to do a second coat.
With any leftover chocolate, use a spoon to form lumps on the wax paper, and add nuts, candies, etc, or dip crackers or fruit from your kitchen.
Keep truffles stored in fridge; they will stay good for weeks.
OM NOM NOM.
Two-fer-Tuesday
I’m over at Sara Dobie Bauer’s site with an interview all about The Clockwork Dagger. She’ll have a review of the book up on Thursday! Eep!
You can also find me at J. Kathleen Cheney’s blog where I discuss the joys of grammatical goofs.
On that subject, Weird Al’s new video has brought me much happiness on a morning where my allergies are doing unkind things to my body. Thanks for the distraction, Al. <3
Read MoreArtwork!
I’ve been blessed with an amazing book cover, but I’m greedy. I want more art! More pretties! Therefore, I reached out to my friend Darryl Knickrehm. He was an editor at Waylines Magazine, where he also handled the artwork. I commissioned two works from him, which I’m delighted to share. They can also permanently be found over on the World of Clockwork Dagger page.
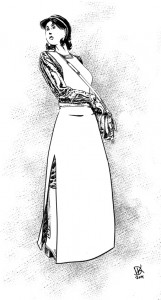
First of all, there’s the illustration of Octavia.
This is closely in line with my original concept of her medician attire, which is strongly influenced by the gear of a World War I nurse. Plus, it includes Octavia’s satchel! That satchel is of vital importance within the book, so it’s thrilling to see it there at her hip.
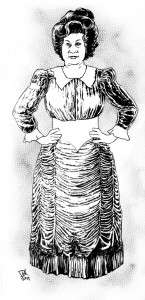
The other illustration features another central character of the book–Mrs. Stout!
Mrs. Stout is Octavia’s roommate on her airship journey, and quite a colorful character. Mrs. Stout is very much inspired by Mrs. Slocombe from the British comedy Are You Being Served?, down to the vivid hair and bombastic attitude.
I’m so happy with how everything turned out. If you need to commission artwork, go check out Darryl’s page. He’s awesome to work with, and as you can see, the results are amazing!
Read MoreSunday Quote is ready for summer to be over
Read More“You fight a story week after week and day by day and then it arranges itself in your hands.”
~John Steinbeck, Journal of a Novel
Bready or Not: Buttermilk Biscuits
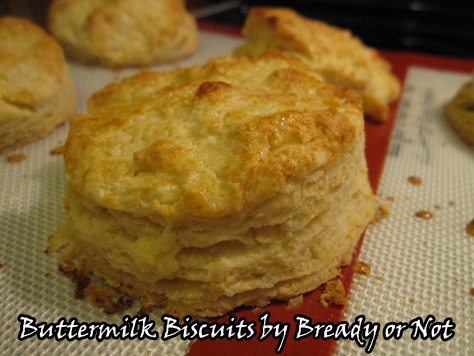
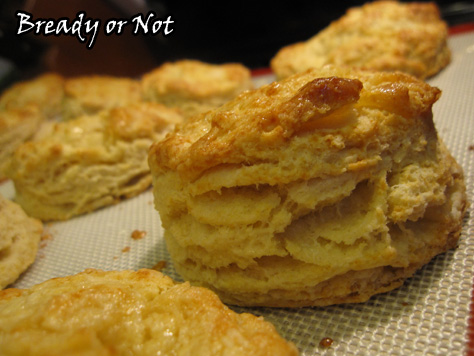
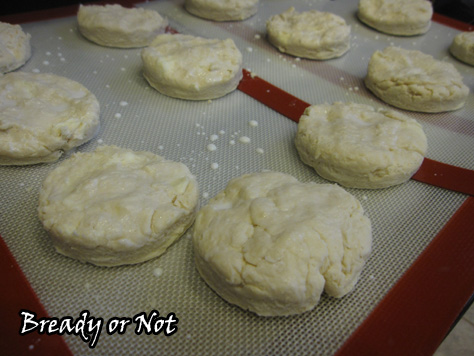
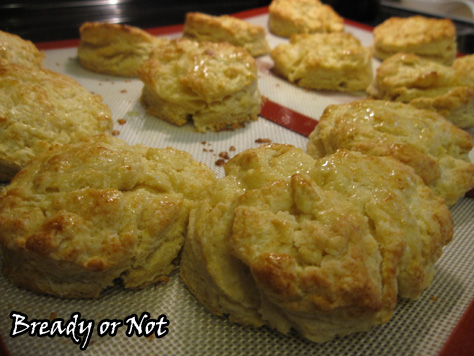
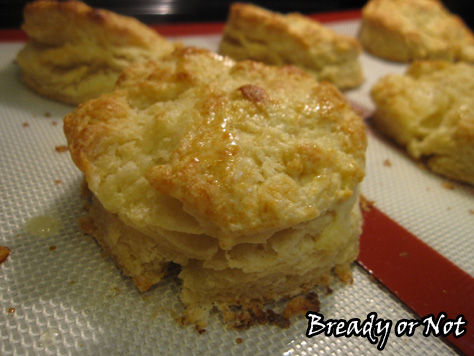
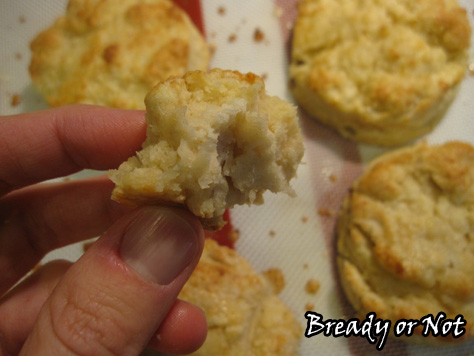
I failed at buttermilk biscuits. For years. This grieved me. This recipe, finally, is the one that has repeatedly produced lofty, flaky, perfect biscuits.
This is an important heritage thing. My dad is from Alabama. He is of the firm belief that every meal should come with a side of bread, and buttermilk biscuits are about as good as it gets.
My husband’s family isn’t much different. Grandpa and Grandma Cato are Arkansas born and bred. We go to visit them, and we are fed an “Arkansas breakfast.” That means enough food to go out into the woods and chop down trees all day and not be hungry until dusk. That breakfast always, always, always includes buttermilk biscuits with sausage gravy.
Biscuits. Serious business.
I found this recipe from Bakergirl and have modified it slightly; she in turn got it from Bobby Flay. I wish I could hug this recipe. You have no idea how pleased I am to have a biscuit recipe that works.
A few notes on this:
– I do homemade sour milk for the buttermilk by mixing a tablespoon of lemon juice in with milk (I’ve also done a mix with half & half) and letting it curdle for 15 minutes before using it.
– the recipe also works just fine if you happen to have buttermilk powder.
– it produces more than a single cookie sheet of biscuits.
– they are fabulous to bake and the freeze. It’s always nice to have some stashed in the freezer!
Bready or Not: Buttermilk Biscuits
Ingredients
- 4 cups all-purpose flour
- 4 teaspoons baking powder
- 1 teaspoon baking soda
- 1 teaspoon salt
- 12 Tablespoons unsalted butter cold, cut into cubes
- 1 1/2 cups cold buttermilk or substitute sour milk
On top:
- 1/4 cup milk brush on tops before baking
- 2 Tablespoons butter melted, to brush on tops after baking
Instructions
- Preheat oven to 450-degrees. Prepare baking sheets by lightly greasing them or using parchment or baking mats.
- Combine the dry ingredients: flour, baking powder, baking soda, and salt. Gradually cut the butter into the flour mix, using a pastry blender or forks until it resembles coarse meal.
- Add the buttermilk and combine until it just comes together. Don't overwork it! The butter needs to stay in small lumps; that creates the flaky layers.
- Lightly flour about a square foot of counter. Press the dough out to mostly fill the space, with the dough still about 3/4-inch thick. Use a 3-inch round biscuit cutter to punch out shapes and place on baking sheets. Brush a little bit of milk on the tops of the biscuits.
- Bake for 12 to 15 minutes or until they turn golden brown. Remove from oven and immediately brush melted butter on the tops.


